Start with the surface you actually have
Identify whether you are working on plasterboard, bare masonry, existing plaster, a painted surface or a traditional lime system. Check for loose material, contamination and defects. Damp or continuing movement needs a cause and a remedy, not simply another coat over the top.
Drylining and dot-and-dab installations also change the relationship between the masonry, board face and electrical back boxes. Agree the final wall line before choosing a bead or assuming that existing box positions will still suit the accessories.
Suction control is not the same as providing a key
A thirsty background drawing water from plaster presents a different problem from a smooth surface that needs a suitable bonding treatment. Match preparation to both the substrate and the plaster manufacturer's instructions.
Do not use a universal PVA dilution or assume every primer can be substituted for another. Thistle Bond-it is an example of a proprietary preparation product, not a backing plaster. Its approved uses and drying instructions need to match the job.
Joints, corners and beads do different jobs
Follow the plasterboard system's joint treatment and reinforcement requirements. Tape should not be presented as a remedy for a moving structure or a badly supported board edge. Plan external corners and stop details before mixing.
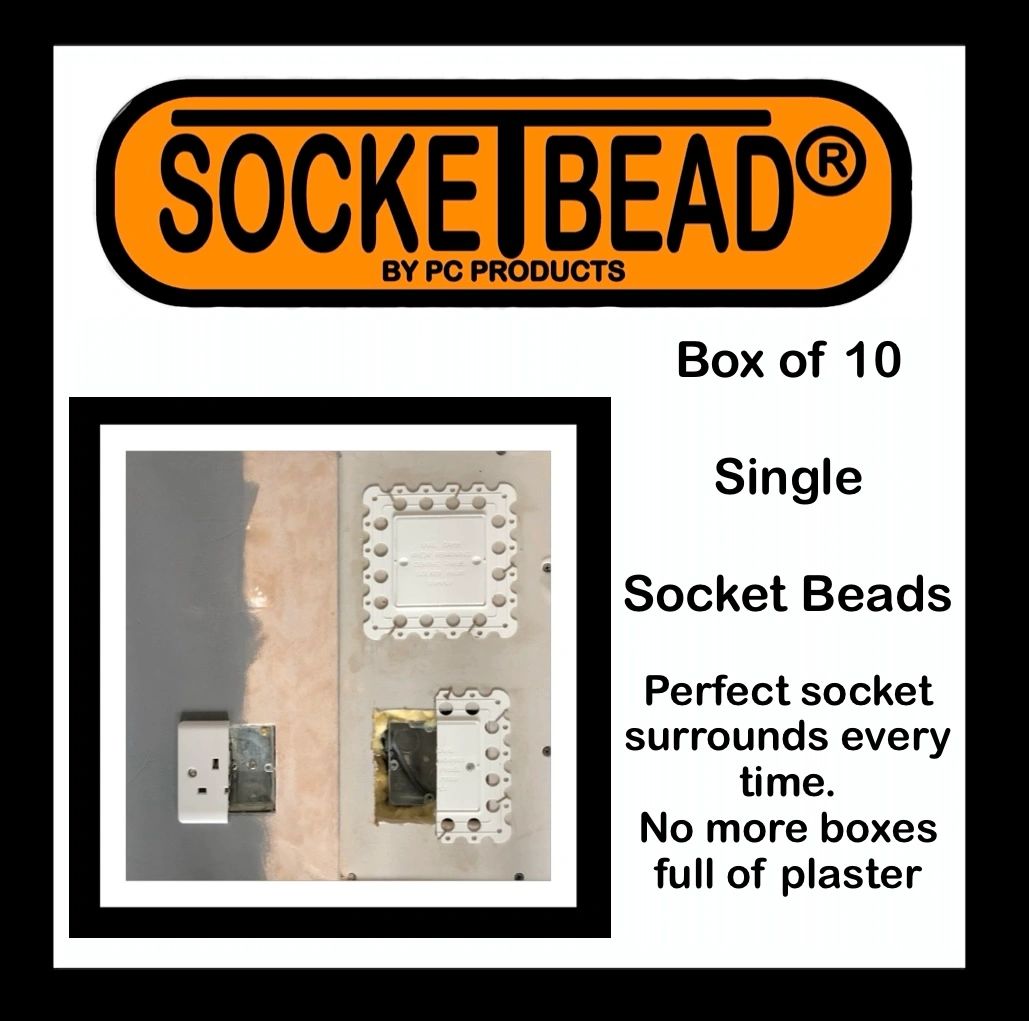
A socket bead defines the opening around a back box; it is not a replacement for corner reinforcement, electrical enclosure requirements or safe isolation. Choose each detail for its actual function and the specified finish depth.
Protect sockets and switches before the wet work
Arrange for the relevant circuit to be securely isolated and proved dead before work at an electrical opening. A competent electrician should handle electrical alterations and safe containment of connections. A plastic plastering cover does not make live wiring safe.
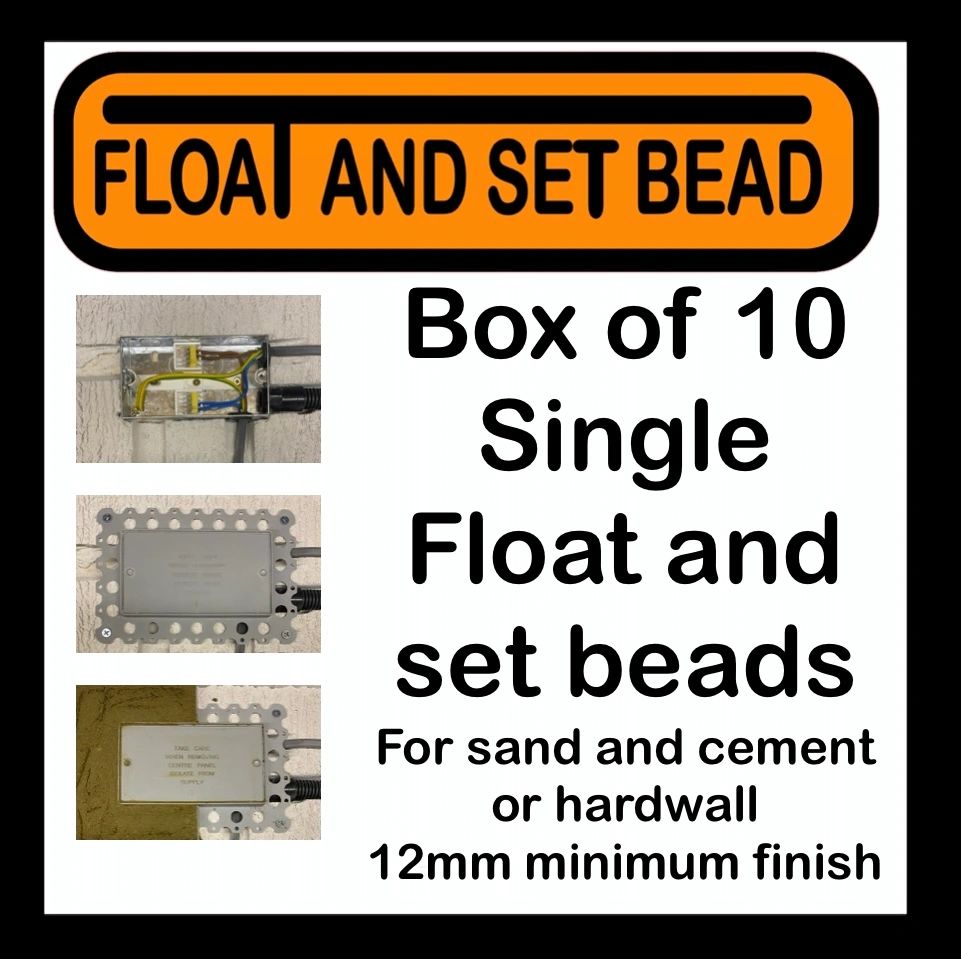
For a compatible skim detail, single- and double-gang socket beads provide a defined edge and covered centre. A float-and-set bead is a separate option for suitable deeper builds. Check the specific instructions, total depth and box alignment rather than choosing only by faceplate size.
Downlights and extractor openings
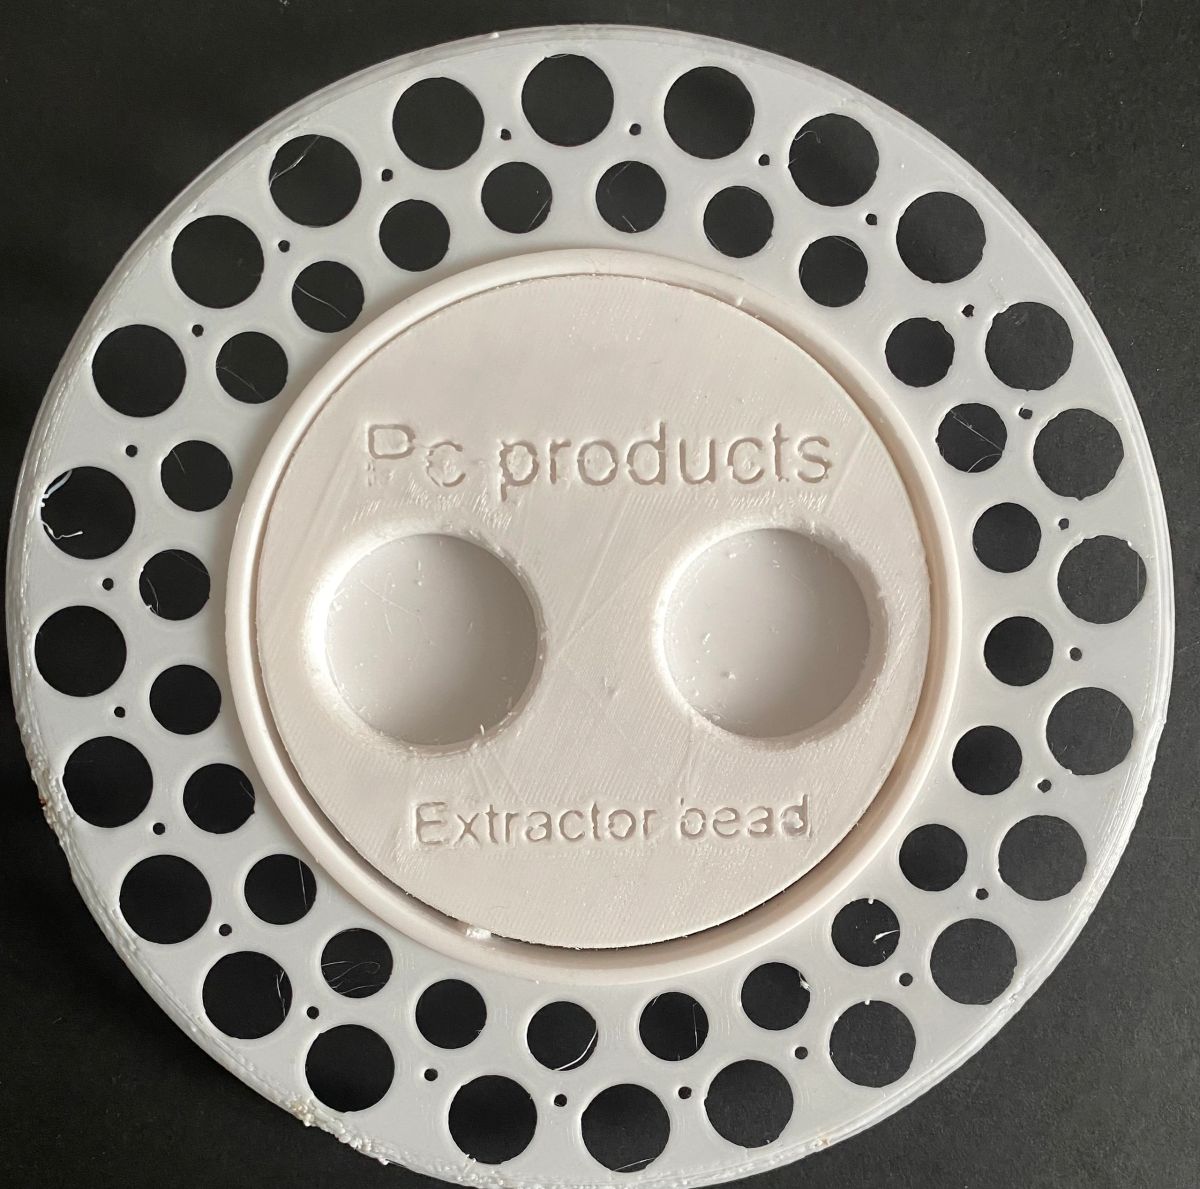
Agree the fitting position and required opening with the electrical or ventilation installer. For a compatible planned downlight opening, a spotlight bead can keep the position defined while the ceiling is finished. Follow the light manufacturer's cut-out and installation requirements.
Do not use a bead as a universal answer to a downlight hole that is already too large. A compatible converter, a different fitting or a proper board repair may be needed. A bead also does not establish the fire or acoustic performance of the complete ceiling.
Check the detail before mixing and before second fix
Before mixing, confirm the material, background treatment, finish depth, protected openings and access. Photograph or record the positions where helpful, without leaving loose cables or open electrical hazards for the plastering stage.
After finishing, follow the bead instructions for exposing the opening and keep cutting away from wiring. Let the appropriate trade complete and check the electrical or ventilation installation. Do not force a faceplate against uneven or damaged plaster to hide a problem.
- Background sound and preparation complete.
- Plaster and bead detail compatible.
- Finished wall line and box positions agreed.
- Electrical work safely isolated and secured.
- Fitting sizes and ceiling requirements confirmed.
- Second-fix work and checks allocated to the appropriate trade.
Common questions
Should I PVA every wall before plastering?
No universal rule or dilution suits every background. Use the preparation specified for the actual plaster and substrate. Suction control and bonding are different requirements.
Can I plaster over a live socket with a cover in place?
Do not rely on a plastering cover to make live wiring safe. Arrange secure isolation, prove the circuit dead and have a competent person deal with electrical connections and alterations.
Do socket beads repair a back box that is too deep?
No. They help define and protect the plastering edge. A recessed back box or unsuitable fixing arrangement needs an appropriate electrical correction, not just a bead or more filler.