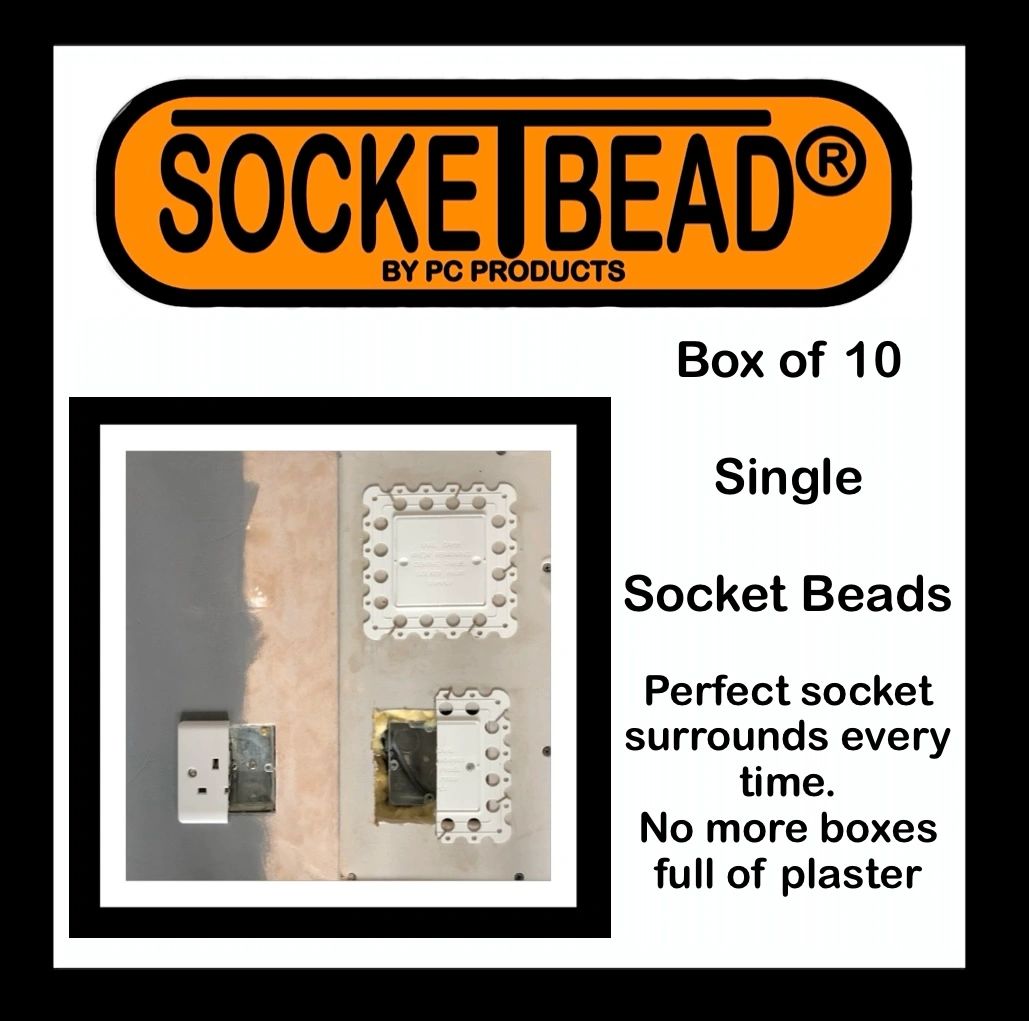
Installation guide
How to plaster around sockets & light switches
Fit single and double socket beads cleanly and safely, from preparing the opening to removing the centre after the plaster has cured.
Step by step
A practical installation overview
- 01
Make the electrical position safe
Isolate where required and make sure cables or terminated connections are secured centrally. Electrical work must be completed by a competent person.
- 02
Check the wall build-up and box depth
On plasterboard, drylining and dot-and-dab work, agree the finished wall line before the opening is covered. Where a metal box is near the wall face, staples normally hold the bead. If the box is more than 9.5 mm behind the surface, use the moulded indentations and socket screws to maintain alignment.
- 03
Fix the bead
Centre the bead over the opening and staple the outer flange flat. For adjacent sockets, trim the touching flanges with scissors or tin snips and use additional staples.
- 04
Skim the surface
Apply the finish across the bead to its regulating edge. The PC Products skim bead is intended for an approximately 3 mm coat.
- 05
Let the plaster cure
Allow the plaster to set fully—ideally for a couple of days—before tapping the centre to reveal the cut line.
- 06
Remove the centre carefully
Use a hooked blade or the specialist cutting tool and keep the cutting action away from cables. Complete the accessory installation to its manufacturer's instructions.
See it demonstrated