Problem guide
Why plaster cracks around sockets and how to reduce it
Understand why socket and switch openings are vulnerable to chipped or cracked edges and how preparation, support and curing affect the finish.
Step by step
A practical installation overview
- 01
Start with a sound opening
Loose board edges, oversized cutouts and damaged backgrounds give the finish little support. Repair unstable material and make sure the back box or opening is properly positioned before plastering.
- 02
Avoid an unsupported plaster edge
Plaster finished directly to a rough opening can be vulnerable when the faceplate is fitted or removed. A socket bead provides a defined reinforced edge around the opening.
- 03
Keep the bead flat and stable
A flange that lifts or moves can leave an uneven finish. Centre the bead and fix it securely so the plasterer can work to a consistent edge.
- 04
Use the correct finish depth
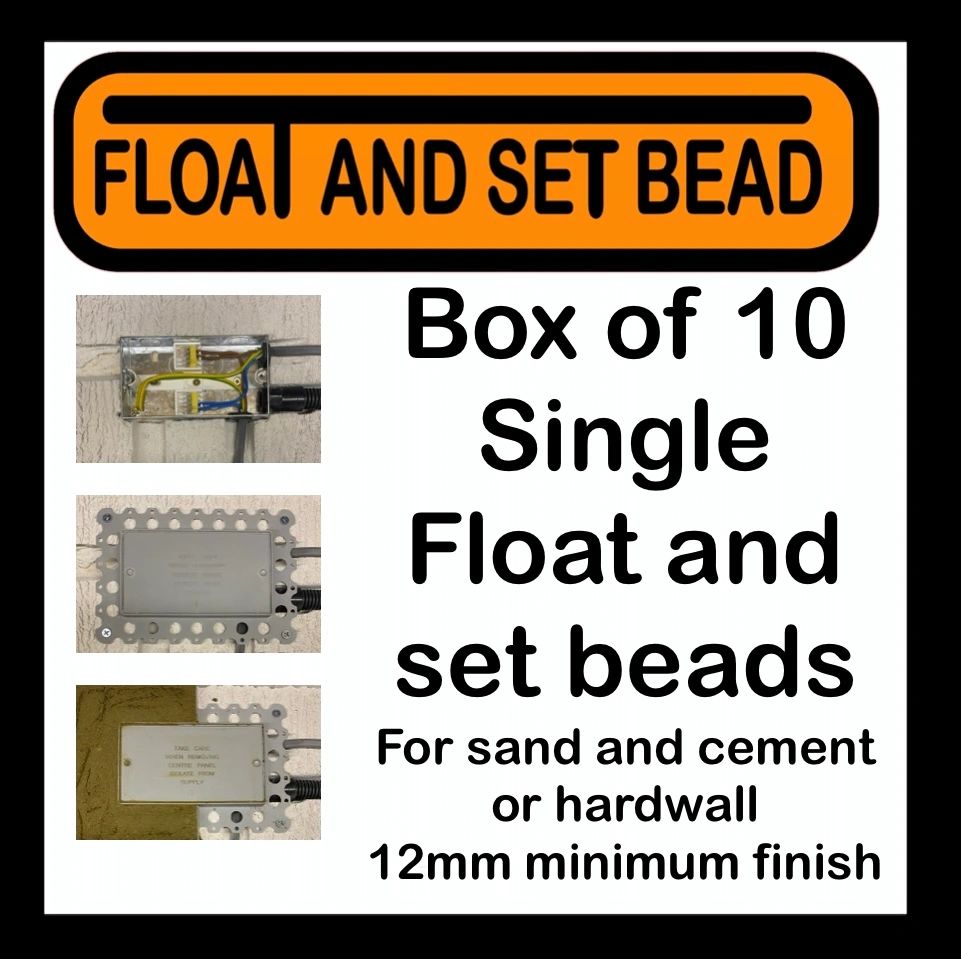
Choose the skim bead for a thin finish and a float-and-set bead for deeper systems. Using the right regulating depth helps avoid a weak feathered edge around the box.
- 05
Allow enough curing time
Do not rush the removal of the centre or the fitting of the faceplate. A fully cured finish is less likely to chip while the opening is revealed and the accessory is installed.
- 06
Fit the faceplate without stressing the surround
Check the box position and screw alignment before tightening the accessory. The faceplate should sit neatly without being used to pull a badly positioned box or damaged edge into place.
See it demonstrated